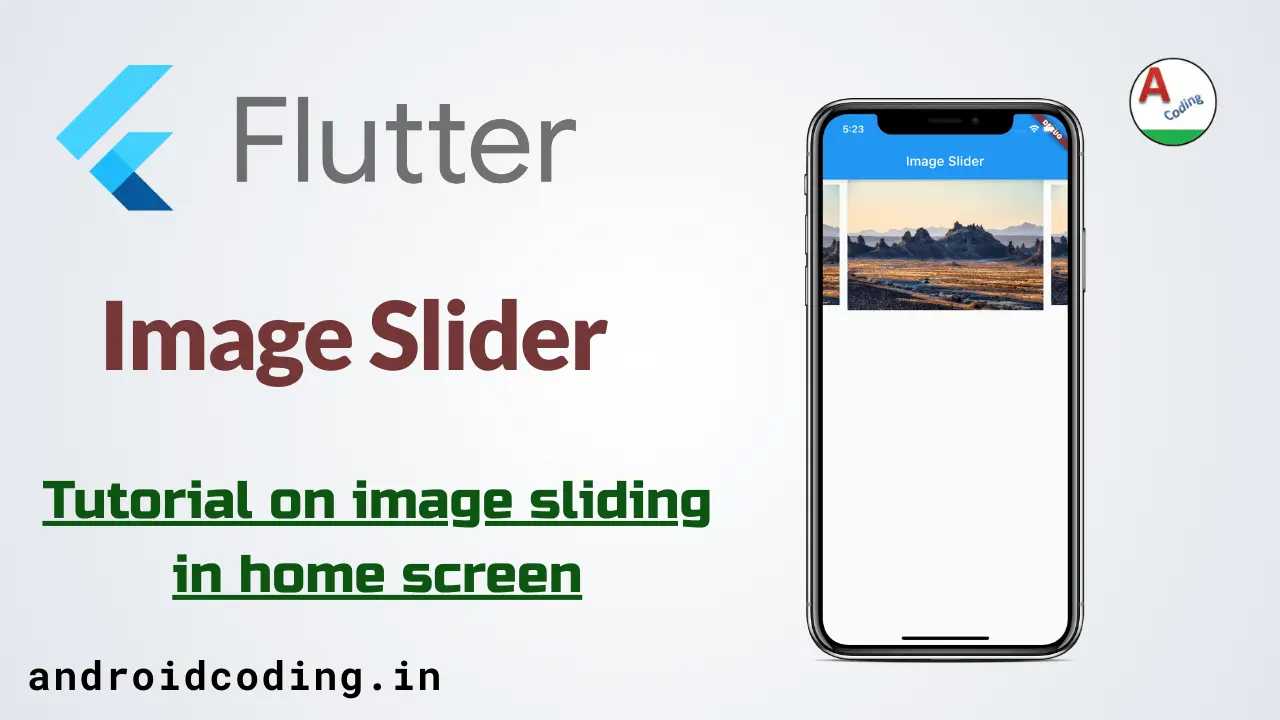
Flutter image slider :
Flutter image slider is used to populate images in app dashboard, they are used to display images related to app services they are updated directly from the api in daily period of time.
Whenever there is any events in app then its the better place to make sure user know them with the help of a designed banner to make them understand easily.
In this part of the tutorial we will see how to make image slider and can control the way image to slide i.e., time duration, style and design and so on..
Also we can load images directly from server by providing a url for the list of images or can specify the list of images from the local assets folder as well.
The list of images will be displayed one after another in the slide which can be controlled in terms of time and style in flutter image slider.
Flutter image slider video tutorial :
Go through the below tutorial for more detailed explanation.
Project Structure :
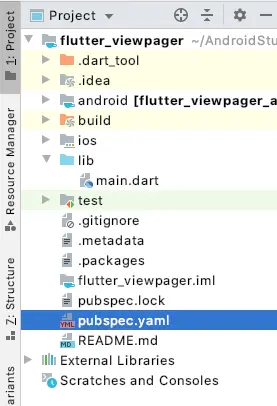
pubspec.yaml :
Add a dependency plugin flutter_swiper with appropriate version
dependencies:
  flutter:
    sdk: flutter
  flutter_swiper: ^1.1.6
main.dart :
Initialize with void main()
void main() {
  runApp(MyApp());
}
Declare a MyApp class
class MyApp extends StatelessWidget {
  @override
  Widget build(BuildContext context) {
    return MaterialApp(
      home: MyHome(),
    );
  }
}
MyHome extends StatelessWidget add a container with a specific height and declare a imageSlider
Container(
  constraints: BoxConstraints.expand(height: 200),
  child: imageSlider(context),
)
Add a imageSlider with parameter as context
Swiper imageSlider(BuildContext context) {
  return Swiper(
    autoplay: true,
    itemBuilder: (BuildContext context, int index) {
      // Add your image widget or content here
    },
    itemCount: 10,
    viewportFraction: 0.8,
    scale: 0.9,
  );
}
We are specifying image from network to display a image
return Image.network(
  "https://images.unsplash.com/photo-1595445364671-15205e6c380c?ixlib=rb-1.2.1&ixid=eyJhcHBfaWQiOjEyMDd9&auto=format&fit=crop&w=764&q=80",
  fit: BoxFit.fitHeight,
);
FullCode :
Below is the complete code for integrating a Flutter image slider. Feel free to review it and leave any queries in the comment section below.
import 'package:flutter/material.dart';
import 'package:flutter_swiper/flutter_swiper.dart';

void main() {
  runApp(MyApp());
}

class MyApp extends StatelessWidget {
  @override
  Widget build(BuildContext context) {
    return MaterialApp(
      home: MyHome(),
    );
  }
}

class MyHome extends StatelessWidget {
  @override
  Widget build(BuildContext context) {
    return Scaffold(
      appBar: AppBar(
        title: Text("Image Slider"),
      ),
      body: Container(
        constraints: BoxConstraints.expand(
          height: 200,
        ),
        child: imageSlider(context),
      ),
    );
  }
}

Swiper imageSlider(context) {
  return Swiper(
    autoplay: true,
    itemBuilder: (BuildContext context, int index) {
      return Image.network(
        "https://images.unsplash.com/photo-1595445364671-15205e6c380c?ixlib=rb-1.2.1&ixid=eyJhcHBfaWQiOjEyMDd9&auto=format&fit=crop&w=764&q=80",
        fit: BoxFit.fitHeight,
      );
    },
    itemCount: 10,
    viewportFraction: 0.8,
    scale: 0.9,
  );
}
Load images from Assets :
Also when you want to add local images from assets folder make sure you specify them in your pubspec file and then declare a array with the list of images
var images=['1.webp','2.webp','3.webp','4.webp'];
Now specify the item count as the length of the array list
itemCount: images.length,
With the help of index you can populate the images as below
itemBuilder: (BuildContext context, int index) {
  return Image.asset(images[index]);
},
Swiper imageSlider(BuildContext context) {
  return Swiper(
    autoplay: true,
    itemBuilder: (BuildContext context, int index) {
      return Image.asset(images[index]);
    },
    itemCount: images.length,
    viewportFraction: 0.8,
    scale: 0.9,
  );
}
Flutter image slider output :
This screen depicts the usage of flutter image slider

If you have any questions, feel free to drop them in the comments below. If you enjoyed this tutorial, show us some love by liking and sharing for more exciting updates