Flutter Appbar :
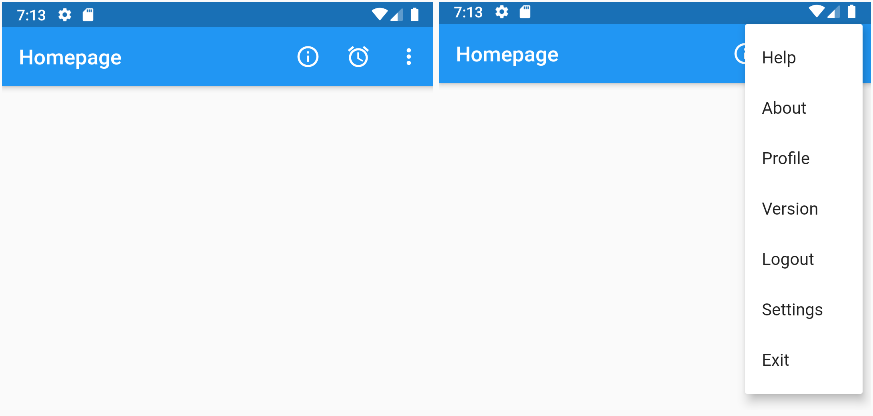
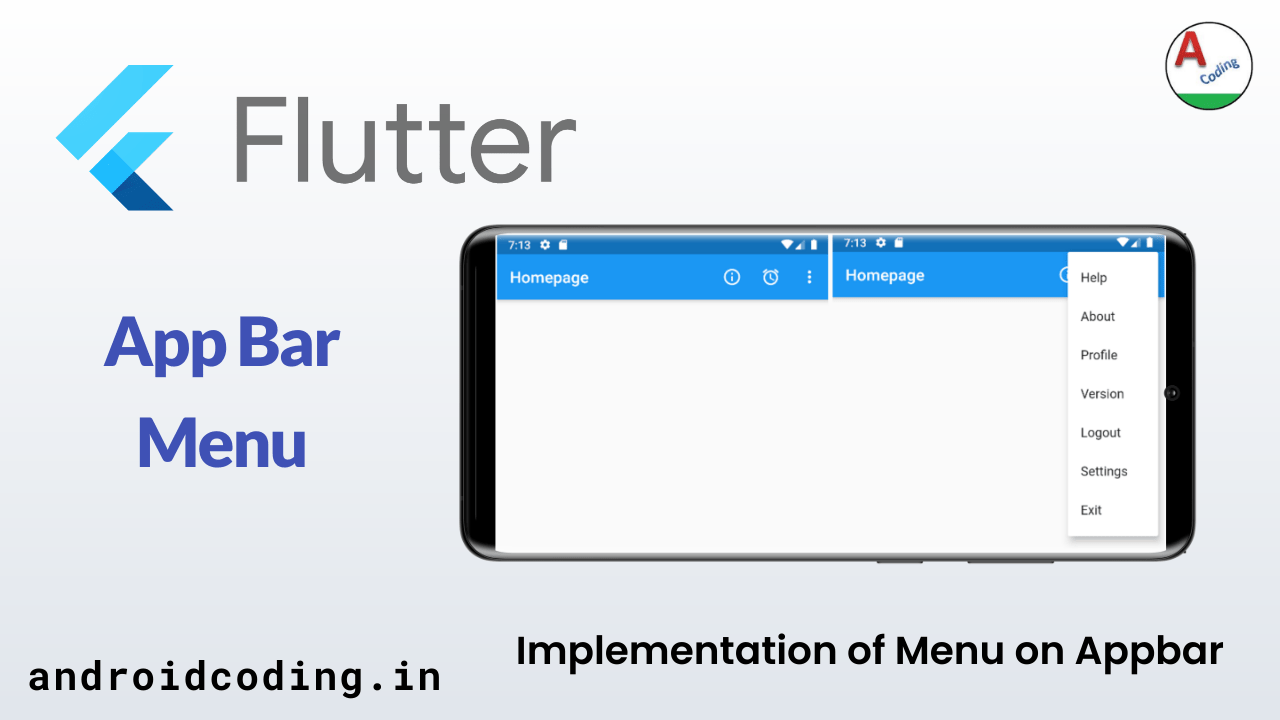
Flutter Appbar provides the header section of the app which has title, sub title and menu of options.In this part of the tutorial we will deal with menu options added to app bar.
These options can be in the form of icons or a drop down menu based on the user requirement or space available.
Appbar provides the details regarding the current screen and provides navigation’s with the help of back button also we can add the app bar to the bottom of the screen.
App bar can be customized accordingly like we can implement collapsible toolbar and many more options like search box also is placed in the appbar.
Let’s get started
Flutter Appbar Video Tutorial :
Go through the below tutorial for more interesting updates.
main.dart :
Initialize with void main()
void main(){
  runApp(MyApp());
}
Create a class MyApp and return MaterialApp
class MyApp extends StatelessWidget {
  @override
  Widget build(BuildContext context) {
    return MaterialApp(
      home: Home(),
    );
  }
}
Create a Home class file extending with StatelessWidget and return a Scaffold to provide a skeleton to the app
class Home extends StatelessWidget {
  @override
  Widget build(BuildContext context) {
    return Scaffold(
      body:
    );
  }
}
Declare AppBar with a title to be displayed
appBar: AppBar(
  title: Text('Homepage'),
),
Now we can customize our AppBar this is a optional step you can make the changes accordingly.
We are adding Icon Buttons
IconButton(
  icon: const Icon(Icons.info_outline),
  onPressed: () {},
),
And a PopupMenuButton widget to generate menu options and add them to a DropDown list providing the options to be displayed on the menu
PopupMenuButton<String>(
  onSelected: handleClick,
  itemBuilder: (BuildContext context) {
    return {
      'Help',
      'About',
      'Profile',
      'Version',
      'Logout',
      'Settings',
      'Exit'
    }.map((String choice) {
      return PopupMenuItem<String>(
        value: choice,
        child: Text(choice),
      );
    }).toList();
  },
),
You can use either of them or both based on necessity
actions: <Widget>[
  IconButton(
    icon: const Icon(Icons.info_outline),
    onPressed: () {},
  ),
  IconButton(
    icon: const Icon(Icons.alarm),
    onPressed: () {},
  ),
  PopupMenuButton<String>(
    onSelected: handleClick,
    itemBuilder: (BuildContext context) {
      return {
        'Help',
        'About',
        'Profile',
        'Version',
        'Logout',
        'Settings',
        'Exit'
      }.map((String choice) {
        return PopupMenuItem<String>(
          value: choice,
          child: Text(choice),
        );
      }).toList();
    },
  ),
],
Now we need to handle the menu options provided in drop down list using switch conditions inside which we provide onClick calls
void handleClick(String value) {
  switch (value) {
    case 'Help':
      break;
    case 'About':
      break;
    case 'Profile':
      break;
    case 'Version':
      break;
    case 'Settings':
      break;
    case 'Logout':
      break;
    case 'Exit':
      break;
  }
}
FullCode :
Providing the full code for flutter appbar integrations in you app easily.
import 'package:flutter/cupertino.dart';
import 'package:flutter/material.dart';

void main() {
  runApp(MyApp());
}

class MyApp extends StatelessWidget {
  @override
  Widget build(BuildContext context) {
    return MaterialApp(
      debugShowCheckedModeBanner: false,
      home: Home(),
    );
  }
}

class Home extends StatelessWidget {
  @override
  Widget build(BuildContext context) {
    return Scaffold(
      appBar: AppBar(
        title: Text('Homepage'),
        actions: <Widget>[
          IconButton(
            icon: const Icon(Icons.info_outline),
            onPressed: () {},
          ),
          IconButton(
            icon: const Icon(Icons.alarm),
            onPressed: () {},
          ),
          PopupMenuButton<String>(
            onSelected: handleClick,
            itemBuilder: (BuildContext context) {
              return {
                'Help',
                'About',
                'Profile',
                'Version',
                'Logout',
                'Settings',
                'Exit'
              }.map((String choice) {
                return PopupMenuItem<String>(
                  value: choice,
                  child: Text(choice),
                );
              }).toList();
            },
          ),
        ],
      ),
    );
  }
}

void handleClick(String value) {
  switch (value) {
    case 'Help':
      break;
    case 'About':
      break;
    case 'Profile':
      break;
    case 'Version':
      break;
    case 'Settings':
      break;
    case 'Logout':
      break;
    case 'Exit':
      break;
  }
}
Flutter Appbar Output :
This screen below depicts the usage of Flutter Appbar Customization’s

If you have any query’s in this tutorial on Flutter appbar do let us know in the comment section below. If you like this tutorial do like and share us for more interesting updates.
